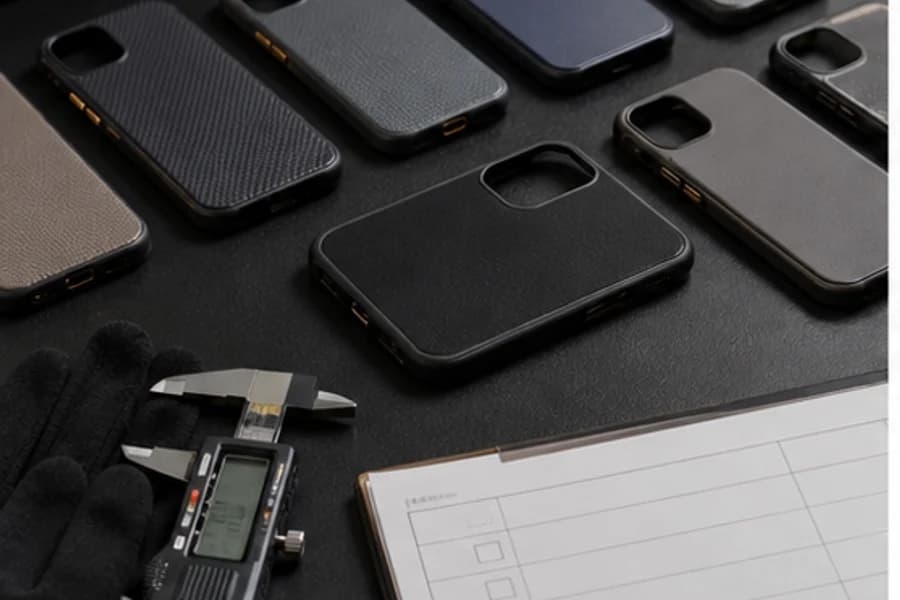
Short answer: inspect a phone case sample against a written brief, the correct device and a repeatable checklist. Confirm sample status first; then review identity, fit, cutouts, buttons, protective geometry, surface, assembly, device interactions, branding, packaging and documented revisions. Approval should identify both accepted details and remaining exceptions.
A sample is not merely a small version of an order. It is a decision tool. The objective is to discover ambiguity while changes are manageable and to create an approved reference that purchasing, engineering, quality and the supplier understand in the same way.
Step 1: Confirm exactly what the sample represents
Label the sample with model, revision, date and purpose. Ask whether it uses production-intent material, color, tooling, finish, magnetic parts and packaging. A visual prototype may answer styling questions but should not be used to approve production fit. Record every temporary substitution.
Step 2: Verify the device and product identity
Use the exact device model intended for sale. Similar names, screen sizes or camera layouts are not sufficient. Confirm SKU, color, component combination and packaging version before inspection. This simple step prevents feedback being attached to the wrong configuration.
Step 3: Inspect installation and removal
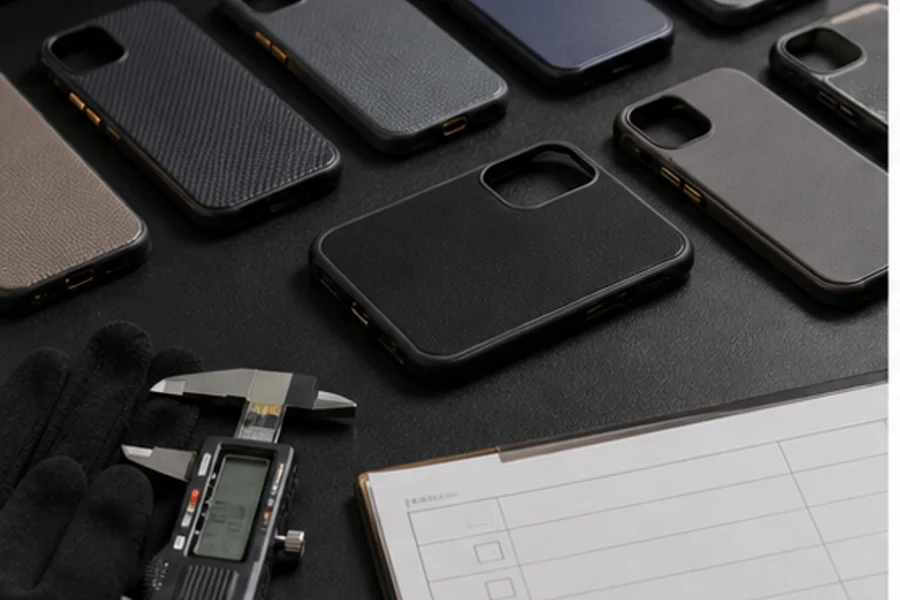
Install the case using the expected user sequence. Look for excessive force, whitening, stress sounds, scratching risk or components that lift. Remove and reinstall it several times. Note whether buttons, frames or decorative parts move. The case should not depend on an instruction that a typical customer is unlikely to follow unless that instruction will be supplied clearly.
Step 4: Review overall fit and retention
Check seating around all edges and corners. Look for rocking, gaps, bowing and uneven tension. Hold and rotate the assembled device gently to observe movement; do not improvise destructive tests. Compare left/right and top/bottom symmetry. If a gap is accepted, document the location and reference rather than saying “within tolerance” without a tolerance.
Step 5: Check every opening and control
Inspect camera, flash, microphone, speaker, charging port, buttons and switches. View openings from several angles because a cutout can appear centered from the back yet obstruct an internal path. Connect the intended cable or accessory. Press each button repeatedly and compare response across positions.
Step 6: Evaluate screen and camera stand-off
Place the device on a clean, flat reference surface in the orientations relevant to the design. Observe whether intended raised areas make contact before the screen or camera. Do not turn this observation into a drop-protection claim. It is a geometric check that should be reviewed together with the full design and any planned validation.
Step 7: Inspect appearance under controlled light
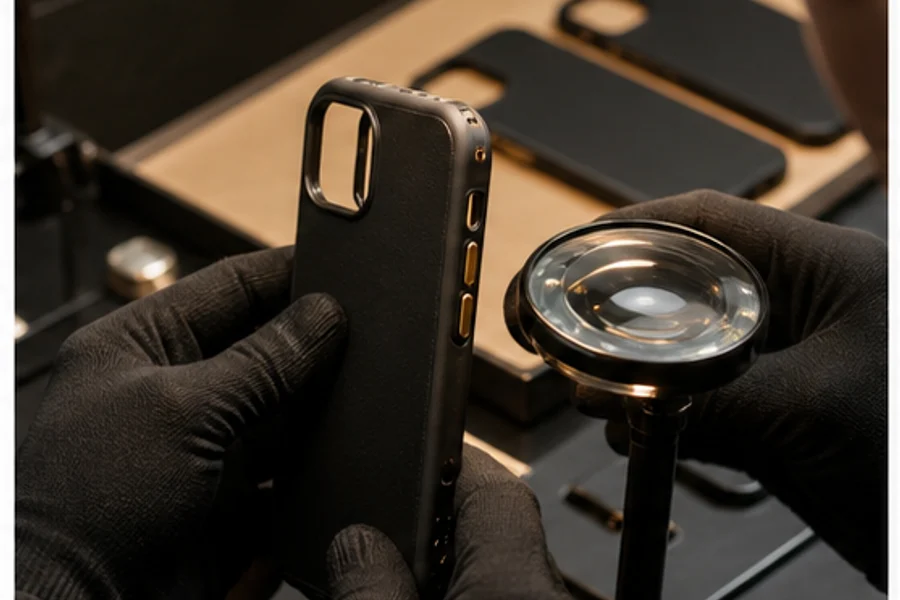
Clean the sample and inspect it at a consistent distance under diffuse neutral light, then under typical retail or office light. Look for scratches, dents, dust, sink, flow marks, uneven gloss, color mismatch, print defects, coating variation, adhesive residue and sharp transitions. Decide which conditions count as defects and record photographic examples.
Step 8: Review component assembly
For multi-part cases, check gaps, flushness, alignment and movement. Press around interfaces gently to find clicking or lift. Inspect the inside for exposed edges or hard contact points. Ask which assembly details are manually controlled and which are located by fixtures or part geometry.
Step 9: Check magnetic and device interactions where relevant
If the product includes a magnetic structure or is intended for wireless accessories, define the use cases and review them with the intended device and accessories. Check alignment, attachment behavior and charging behavior where applicable. Use current device-maker guidance. Avoid using compatibility marks or performance language until the project has the necessary evidence and permissions.
Step 10: Verify branding and finish references
Measure branding position from defined datums rather than visual centering alone. Check size, orientation, color and contrast. Compare finishes with the approved physical reference. On directional materials such as brushed surfaces, confirm direction across every part and every color.
Step 11: Test packaging fit as a system
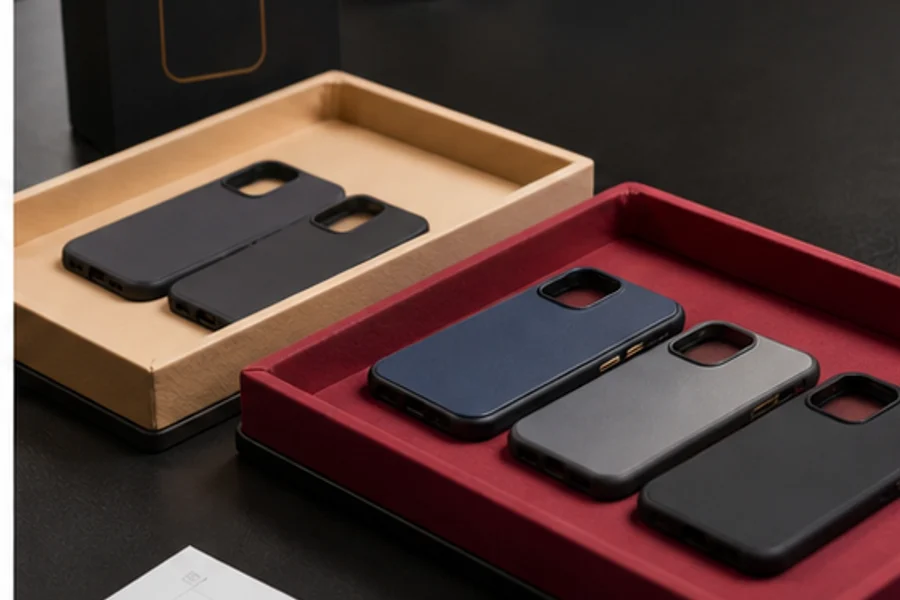
Place the product, inserts and any accessories into the intended packaging. Check movement, abrasion risk, presentation, barcode or label position and opening sequence. Packaging should protect appearance-critical surfaces during handling. Confirm that required market information will be owned and reviewed by the responsible parties.
Step 12: Issue a clear approval or revision report
Finish with one of three outcomes: approved, approved with explicitly listed conditions, or revision required. Number every comment. Include an annotated image, expected result, owner and target version. Ask the supplier to acknowledge each item and return the consolidated change list before work starts.
Keep one controlled approval sample when practical. Protect and label it. A photo record is useful, but it may not fully preserve texture, gloss or fit. When production begins, the approved information should connect to the inspection criteria used later.
A compact sample review checklist
- Sample identity and purpose confirmed.
- Correct device, SKU and revision used.
- Installation and removal reviewed.
- Fit, retention and symmetry reviewed.
- Cutouts, controls and ports checked.
- Screen and camera stand-off observed.
- Appearance inspected under agreed conditions.
- Interfaces and internal contact points checked.
- Magnetic or wireless interactions reviewed if relevant.
- Branding, color and finish compared with references.
- Packaging fit and surface protection reviewed.
- Approval status and every open item documented.
Common sample-approval mistakes
- Approving from photographs without receiving the physical sample.
- Testing on a different device variant.
- Combining comments from several people without one owner.
- Using subjective feedback without an image or reference.
- Changing material and color at the same time without tracking both.
- Approving the product but not the packaging configuration.
- Assuming a visual sample proves a performance claim.
Frequently asked questions
Who should approve the sample?
Assign one decision owner, with input from product, purchasing, quality and marketing as required. The supplier should receive one consolidated instruction set.
Can photographs replace a physical sample?
Photographs are useful for early direction and documentation, but physical fit, hand feel, gloss and assembly behavior normally require a physical review.
What if one detail is not final?
List it as an exception with an owner and required next version. Do not call the sample fully approved if a commercially important detail remains undefined.
Buyer’s project workbook: questions to resolve before an order
Use this workbook as a cross-functional handover between product, purchasing, quality, marketing and the supplier. Not every question applies to every case, but unanswered questions should be visible rather than silently converted into assumptions.
Product and market definition
- Which exact device models and regional variants are in scope?
- Who is the intended user, channel and retail position?
- Which product benefit is primary: appearance, slimness, grip, structure, magnetic use or another requirement?
- Which statements will appear on the product page or packaging, and what evidence will support them?
- Which details are mandatory and which may change after sampling?
- Who owns final product approval on the buyer’s team?
Construction and appearance
- What is the intended component stack and purpose of every component?
- Which materials and finishes are production-intent, and which remain references?
- Which surfaces are appearance-critical after assembly and after packing?
- How will color, gloss, texture and directional finish be approved?
- What branding method, position, size and color are required?
- Which physical reference controls subjective language such as “premium” or “soft touch”?
Fit and functional review
- What source drawing or device reference controls the design?
- How will camera, flash, microphone, speaker, port and button clearance be checked?
- Which cables, chargers, mounts or accessories must be used during review?
- How should installation and removal feel to the customer?
- Which device interactions require dedicated validation?
- What changes would require a new approval sample?
Quality and documentation
- What constitutes a critical, major or minor defect for this SKU?
- Under what light, distance and viewing time will appearance be judged?
- Which dimensions or functions need recorded checks?
- How will components, samples and revisions be identified?
- Which inspection records should accompany the project?
- Which market documents apply to this exact product and configuration?
Packaging and delivery readiness
- What must the packaging protect during handling and transport?
- Which inserts, labels, barcodes and market information are buyer-supplied?
- How will mixed models or colors be identified?
- What packaging sample must be approved before production?
- Which milestones require written buyer confirmation?
- How will an open issue be escalated, owned and closed?
The workbook is intentionally evidence-led. A supplier does not need to know every answer during the first call. The professional response is to identify the open item, name the person responsible and agree on the point at which it must be resolved.
A practical 45-minute supplier review agenda
A structured meeting is more reliable than an open-ended sales call. Send the agenda and current brief in advance. Invite the person who can answer product or engineering questions, and keep one written open-item list.
- Minutes 0–5: commercial objective. Confirm the target market, channel, device range and why the buyer is developing the product.
- Minutes 5–12: construction. Walk through components, materials, finishes and intended user benefits. Mark every provisional choice.
- Minutes 12–20: fit and interfaces. Review device source data, openings, buttons, camera and screen geometry, installation and accessory interactions.
- Minutes 20–28: sample plan. Define the purpose of the next sample, production-intent details, known substitutions and acceptance criteria.
- Minutes 28–35: quality plan. Connect the highest product risks with incoming, in-process and final checks. Agree how visual defects will be communicated.
- Minutes 35–40: packaging and market readiness. Confirm scope, protective needs, artwork ownership and documents that still require review.
- Minutes 40–45: decisions and owners. Read back every decision, open question, owner and due point.
After the call, issue a one-page summary. Distinguish confirmed facts, proposals and assumptions. Attach the latest references rather than relying on links buried in chat. If the supplier corrects the summary, preserve the correction in the project record. This routine creates a traceable decision trail without requiring complicated software.
Evidence worth retaining
- The approved brief and each controlled revision.
- Device reference and dimensional source used for design.
- Material and finish references, including physical samples where needed.
- Annotated sample reports and supplier responses.
- Packaging configuration and artwork approval.
- Product-specific inspection criteria and defect examples.
- Documents supporting any public compatibility, material or performance claim.
These records do not replace professional compliance work. They make responsibility visible and help prevent a later team member from treating an old assumption as an approved requirement.
Turning the review into a clearer RFQ
The final request for quotation should describe one comparable scope. Start with a product identity block: working SKU, device model, revision, target market and intended channel. Add the construction summary, target materials, surface direction, branding method and packaging scope. Attach controlled references and state which reference governs if files conflict.
Separate price-driving variables. Color count, component count, decoration, individual packing and mixed-SKU requirements can change the commercial picture. Ask suppliers to identify assumptions and exclusions rather than filling gaps silently. MOQ, pricing, sample cost and lead time must be confirmed for the exact project and should never be copied from a different model.
Use an open-item register
Create four columns: item, current status, owner and decision point. Typical entries include device drawing confirmation, color reference, logo artwork, magnetic structure, packaging dieline, market labeling and the next sample’s acceptance criteria. Review the register at every milestone. Close an item only when evidence is attached.
Approval language that reduces ambiguity
- Approved: the reviewed version may become the controlled reference.
- Approved with conditions: only listed corrections remain and their verification method is agreed.
- Revision required: another sample or document review is required.
- For appearance only: fit, function, material or process is not approved.
- For engineering review: visual finish or production consistency is not approved.
End the RFQ with a request for questions. A supplier that identifies a conflict before quoting is contributing useful risk control. The goal is not the fastest number; it is a quotation and sample plan the project team can understand, compare and later audit.
Sources and editorial note
For Apple-device projects, consult Apple’s current accessory design resources and device dimensional drawings. This checklist supports communication and review; it does not replace product-specific engineering, testing, compliance or legal advice.